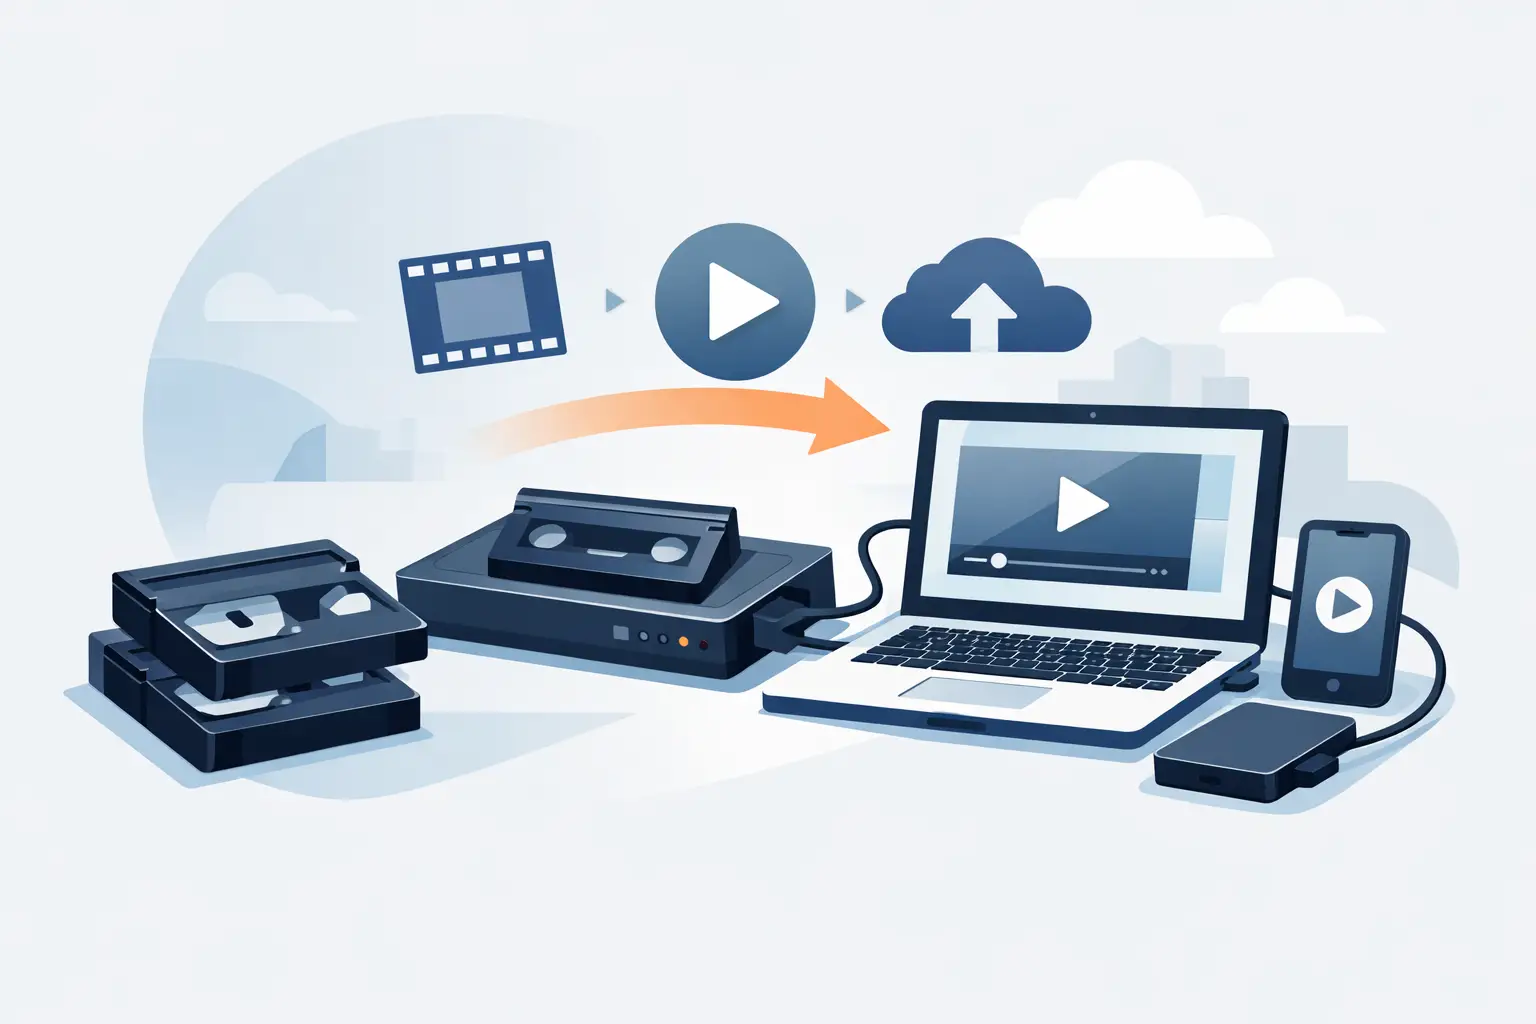
That MiniDV camcorder tucked in a closet is holding birthdays, school plays, vacations, and the kind of everyday family moments that matter more as the years pass. If you want to convert mini dv tapes, the good news is that the footage can often be preserved beautifully. The harder part is knowing whether to handle it yourself or trust a professional service with media that may already be aging.
MiniDV was a major step forward from older analog camcorder formats. It recorded digital video onto tape, which means the source quality can be very good when transferred properly. But the word digital can be misleading. These tapes are still physical media, and physical media does not last forever. Tape can wear out, camcorders stop working, batteries disappear, and the cables needed for transfer are not nearly as common as they once were.
Why people convert mini dv tapes now
Most families do not think about old camcorder tapes until they find a box during a move or while cleaning out a parent’s home. Then the urgency sets in. Maybe the camcorder is gone. Maybe it still powers on, but the picture drops out. Maybe there are dozens of tapes and no clear label on any of them.
MiniDV tapes are not as old as VHS, but they are old enough that delay can become expensive. A working playback device is often the biggest obstacle. Even when you still have the original camcorder, its tape path, heads, and transport system may not be in ideal condition. One problem tape can jam, shed, or play inconsistently, especially if it has been stored in heat or humidity.
This is why conversion is really about preservation, not just convenience. Once the footage is transferred to a digital file, it becomes easier to watch, copy, share with family, and back up in more than one place.
What you need to convert mini dv tapes at home
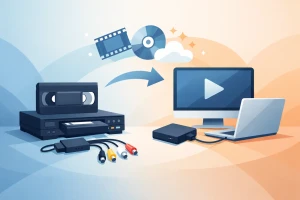
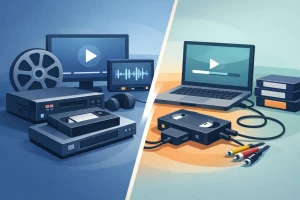
If you want to convert mini dv tapes yourself, the process depends on your exact equipment. MiniDV is digital tape, so the best transfers usually come directly from the tape playback device into a computer through the correct digital connection.
In many cases, that means you need a working MiniDV camcorder or deck, a compatible cable, and a computer that can accept that connection or use a reliable adapter. This is where many DIY projects stall. Older MiniDV camcorders often use FireWire for transfer, while newer computers usually do not. Adapters exist, but compatibility is not always straightforward.
You also need capture software and enough storage space. MiniDV transfers can create large files, especially if you capture at full quality. If you have a single tape and all the right gear, this may be manageable. If you have a shelf full of tapes, the time commitment adds up quickly.
The best-case DIY scenario
Home transfer makes the most sense when your camcorder still works well, your tapes are in good condition, and you are comfortable troubleshooting older technology. In that situation, DIY can be cost-effective and satisfying.
But even then, patience matters. Real-time capture means a 60-minute tape takes about 60 minutes to transfer, and that does not include setup, testing, file organization, or dealing with dropped connections.
Where DIY often goes wrong
The most common issue is not the tape itself. It is the playback hardware. A camcorder with worn heads can create signal dropouts, audio problems, or tracking issues that look like tape damage. Dirty heads can make a perfectly good tape appear defective. In some cases, repeated attempts to play a tape on unstable equipment can make matters worse.
There is also the problem of false confidence. People sometimes assume that if a tape produces any image, the transfer is fine. But poor signal handling, unstable capture settings, or low-quality conversion methods can leave you with files that do not reflect what is actually on the tape.
When professional MiniDV transfer is worth it
A professional service is usually the better choice when the tapes are important, irreplaceable, or part of a larger collection. Wedding footage, recordings of family members who have passed, children’s early years, and one-of-a-kind event videos deserve more than a trial-and-error setup on aging home equipment.
Professional transfer is also helpful when there are warning signs. If a tape has mold, visible damage, playback issues, or if the original camcorder is missing, a specialist can often assess the safest next step. That does not mean every damaged tape can be fully recovered, but it does mean the handling is more careful and informed.
An experienced transfer company also helps remove the complexity. You are not spending weekends searching for cables, buying used camcorders online, or wondering if a playback glitch came from the tape or the machine. Instead, the process is designed around protecting the original media and delivering accessible files you can actually use.
What to look for in a transfer service
Trust matters more than flashy claims. Look for a company that clearly explains its process, handles originals carefully, and has experience with a wide range of aging media. It also helps when the service can guide you through delivery options, file formats, and what to expect if some tapes have problems.
If you are local to South Florida, working with an established company that offers in-person drop-off can bring real peace of mind. Being able to hand your tapes to a team that has spent years preserving family media often feels very different from packing up irreplaceable memories and hoping for the best.
What format should you choose after conversion?
Most families want simple, usable digital files. MP4 is often the most practical choice because it is easy to watch on modern devices and simple to share with relatives. For some customers, a higher-quality master file may also make sense, especially if the footage has long-term archival value or may be edited later.
This is one of those it-depends decisions. If your goal is easy viewing, smaller files are convenient. If your goal is long-term preservation and flexibility, higher-quality files can be worth the extra storage space. Many people choose both: a preservation copy for safekeeping and a smaller version for everyday use.
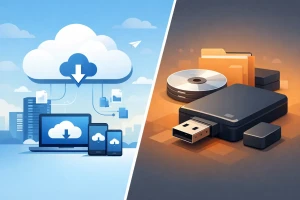
You should also think beyond the transfer itself. Once the tapes are converted, keep more than one backup. A copy on your computer is a start, but an external hard drive and a second backup stored separately can make a big difference over time.
How long does it take to convert mini dv tapes?
The actual transfer happens in real time, so the runtime of the tape matters. A one-hour tape generally takes about one hour to capture. The total turnaround, however, depends on how many tapes you have, whether any need repair or special handling, and whether you are doing the work yourself or using a service.
For families with a small number of tapes, the project may feel manageable at first. Then they realize each tape needs to be labeled, reviewed, transferred, stored, and backed up. A collection of ten or twenty tapes can become a much bigger job than expected.
That is often the moment people decide their time is better spent enjoying the memories than trying to engineer the transfer process.
A few practical tips before you start
Do not rewind and replay old tapes repeatedly just to see what is on them. Every pass through a machine adds wear. If the tapes are unlabeled, make simple notes as they are transferred instead of previewing each one multiple times.
Store tapes upright in a cool, dry place until they are converted. Avoid garages, attics, and outdoor storage units if possible. Heat and humidity are especially hard on magnetic media.
And if a tape appears stuck, damaged, or moldy, stop there. Trying to force playback can turn a recoverable problem into a permanent loss.
The real goal is not just conversion
People usually start this process because they want to watch old footage again. What they often end up with is something more meaningful: a way to share family history with children and grandchildren who have never seen those moments before.
That is why quality and care matter. When MiniDV tapes are transferred properly, they become part of everyday life again instead of sitting in a box with no way to be viewed. For many families, that is the difference between having memories stored somewhere and having them truly preserved.
If you have been meaning to deal with a stack of old camcorder tapes, this is a good time to do it. The longer they sit, the fewer playback options remain. A careful transfer today can keep those voices, faces, and milestones close for years to come.