That box of VHS tapes in the closet is probably holding birthdays, school plays, holiday mornings, and voices you have not heard in years. If you are figuring out how to convert VHS to digital on Mac, the good news is that it can be done at home. The catch is that older tapes, aging VCRs, and the wrong capture setup can turn a meaningful project into a frustrating one.
For some families, a do-it-yourself transfer is perfectly reasonable. For others, especially when tapes are fragile or one of a kind, it makes more sense to have the work handled with professional equipment and careful oversight. The right choice depends on the condition of your tapes, your comfort with technology, and how much quality matters to you.
How to convert VHS to digital on Mac at home
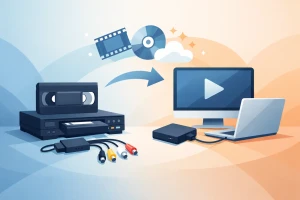
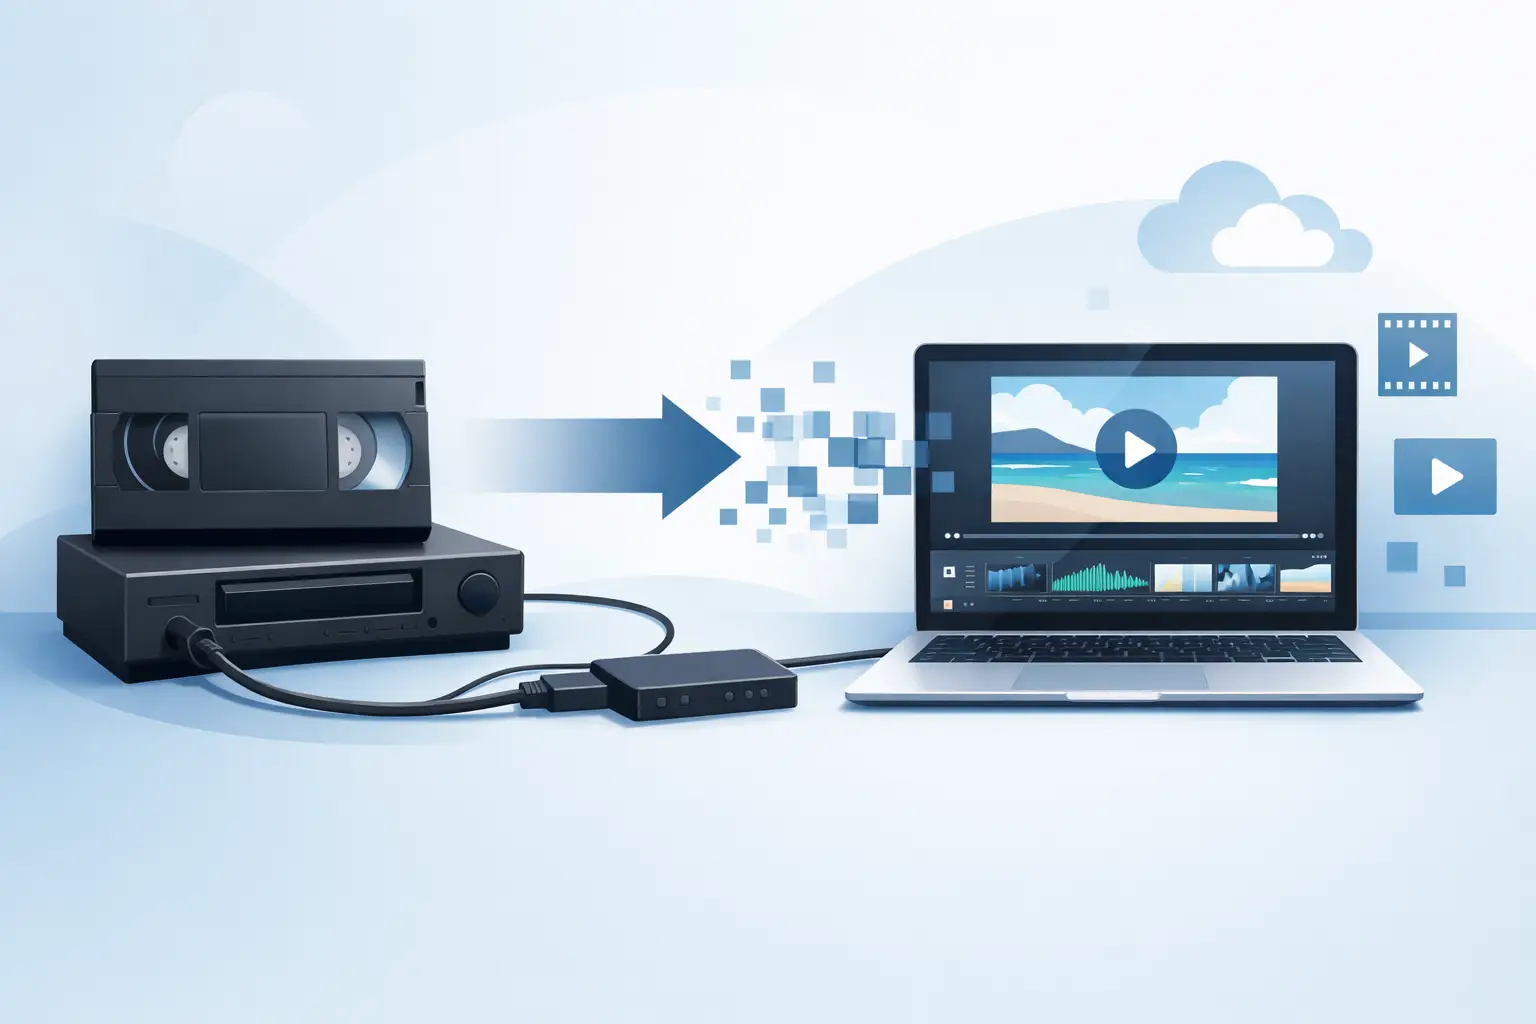
To transfer VHS on a Mac, you need four basic pieces: a working VCR, a video capture device that is compatible with macOS, the right cables, and capture software on your Mac. The VCR plays the tape, the capture device converts the analog signal into a digital one, and the software records that incoming video as a file.
Most home setups use composite RCA cables, the familiar red, white, and yellow connectors. Some VCRs and capture devices also support S-Video, which can produce a cleaner image than composite for the video portion. Audio still travels through the red and white RCA connections.
Before you buy anything, make sure the capture device specifically supports your version of macOS. This is where many home projects stall. A device may work well in theory but have outdated drivers, unreliable software, or poor compatibility with newer Macs. If you have a newer Mac with USB-C ports only, you may also need an adapter.
What equipment you need
A clean, working VCR is the heart of the setup. If the VCR chews tapes, produces heavy static, or struggles to track properly, your results will suffer no matter how good the Mac side is. VHS playback quality depends a lot on the machine itself.
You will also need a USB capture device that accepts analog video input. Some are simple plug-and-play models, while others require separate drivers or recommended third-party apps. On the software side, many people use the app bundled with the capture device, but QuickTime alone usually is not enough unless your capture hardware is recognized correctly by macOS.
Storage matters too. Video files can get large, especially if you are capturing long tapes. Make sure your Mac has enough free space before you begin. An external hard drive is often the safest place to save raw captures before editing or compressing them.
The transfer process on a Mac
Once everything is connected, the process is fairly straightforward. Connect the VCR outputs to the capture device, connect the capture device to your Mac, open the recording software, and confirm that both video and audio are showing up. Then rewind the tape, press play on the VCR, and start recording in the software.
This part sounds simple, but timing matters. VHS conversion happens in real time. A two-hour tape takes two hours to capture. You cannot speed it up without losing the actual recording. That means you need to monitor the transfer, especially during the first few minutes, to make sure the signal is stable and the audio is in sync.
After the recording is complete, save the file in a common format such as MP4 or MOV if your software allows it. If the initial capture is in a larger or less convenient format, you can usually convert it afterward for easier viewing and sharing.
Best file formats for Mac users
If your goal is simple playback on Apple devices, MOV and MP4 are usually the most practical choices. MP4 tends to be easier for sharing with family and uploading to cloud storage, while MOV can fit more naturally into some Apple workflows.
Keep in mind that VHS is already low-resolution analog video. Converting it to a huge high-resolution file will not create extra detail. A clean, well-encoded standard-definition digital file is usually the most honest and useful result.
Common problems when converting VHS on Mac
The biggest challenge is not usually the Mac. It is the tape or the VCR. Old VHS tapes may have tracking issues, color fading, dropouts, distortion, or audio problems that digital capture cannot magically fix. If the tape has mold, physical damage, or signs of sticking, playing it at home can make things worse.
Another common issue is unstable video. Some consumer capture devices do not handle signal fluctuations well, which can lead to jumping frames, image tearing, or recordings that stop unexpectedly. This is especially common with older tapes that were recorded in EP or SLP mode.
Software problems come up too. On some Macs, the capture device is recognized but the software crashes or fails to save properly. On others, audio may record without video, or the image appears but with severe lag. These issues are not always user error. Sometimes it is just a weak combination of hardware, drivers, and aging analog source material.
Quality trade-offs to expect
A home transfer can absolutely preserve content, but it may not produce the cleanest image possible. Consumer VCRs often add noise, and lower-cost capture devices can soften details or introduce compression artifacts. If your main goal is to save a family tape before it gets worse, that may be good enough.
But if the tape contains a wedding, memorial footage, or a rare family recording that cannot be replaced, quality and handling become more important. Better playback decks, proper signal stabilization, and careful monitoring can make a noticeable difference.
When professional VHS transfer makes more sense
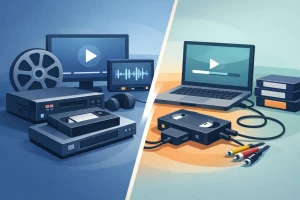
If you have one or two tapes and enjoy troubleshooting technology, a DIY transfer may be worth trying. If you have a shelf full of tapes, no working VCR, or recordings that feel too important to risk, professional transfer is often the better path.
This is especially true when tapes are old, damaged, or inconsistent. A professional service can identify playback problems before they become tape damage, choose the right equipment for the format, and deliver digital files in a way that is easy to use on your Mac, phone, or TV.
There is also the time factor. Home conversion sounds cost-effective until you factor in finding a VCR, testing capture devices, learning the software, monitoring transfers in real time, and redoing failed captures. For many families, peace of mind matters as much as price.
A trusted company should explain the process clearly, handle originals with care, and return both your tapes and your digital files in an organized format. For local families in South Florida, working with an experienced transfer team can also remove the uncertainty of mailing irreplaceable memories across the country.
How to prepare your VHS tapes before digitizing
Whether you do it yourself or use a service, a little preparation helps. Label the tapes as clearly as you can, even if the notes are approximate. “Christmas 1994” is better than nothing. If there are multiple tapes from the same event, group them together.
Store the tapes in a cool, dry place until transfer day. Avoid leaving them in garages, attics, or hot cars. Heat and humidity can speed up deterioration, and Florida households know how quickly that can happen.
Do not try to open cassette shells or clean tape by hand unless you know exactly what you are doing. Good intentions can easily turn into broken leaders, tangled tape, or permanent damage.
A few practical tips for better results
If you are doing the transfer yourself, test your setup with a non-critical tape first. That gives you a chance to catch audio issues, software problems, or poor image quality before you use a tape that truly matters.
Capture the full tape if possible, not just selected moments. Even sections that seem unimportant now may matter later because they include someone’s voice, a room, a neighborhood, or small family details that become more meaningful with time.
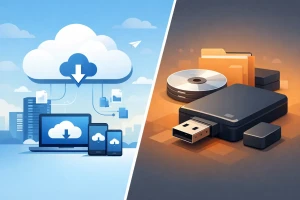
And keep more than one copy once the transfer is done. Save one on your Mac, one on an external drive, and if you are comfortable with it, one in cloud storage. Preservation is not just about converting the tape once. It is about making sure the digital file is still there years from now.
If your VHS tapes hold moments you cannot replace, the best approach is the one that protects them with the least risk. Sometimes that means a careful DIY setup on your Mac. Sometimes it means handing them to people who do this every day. What matters most is not waiting until the tapes decide for you.