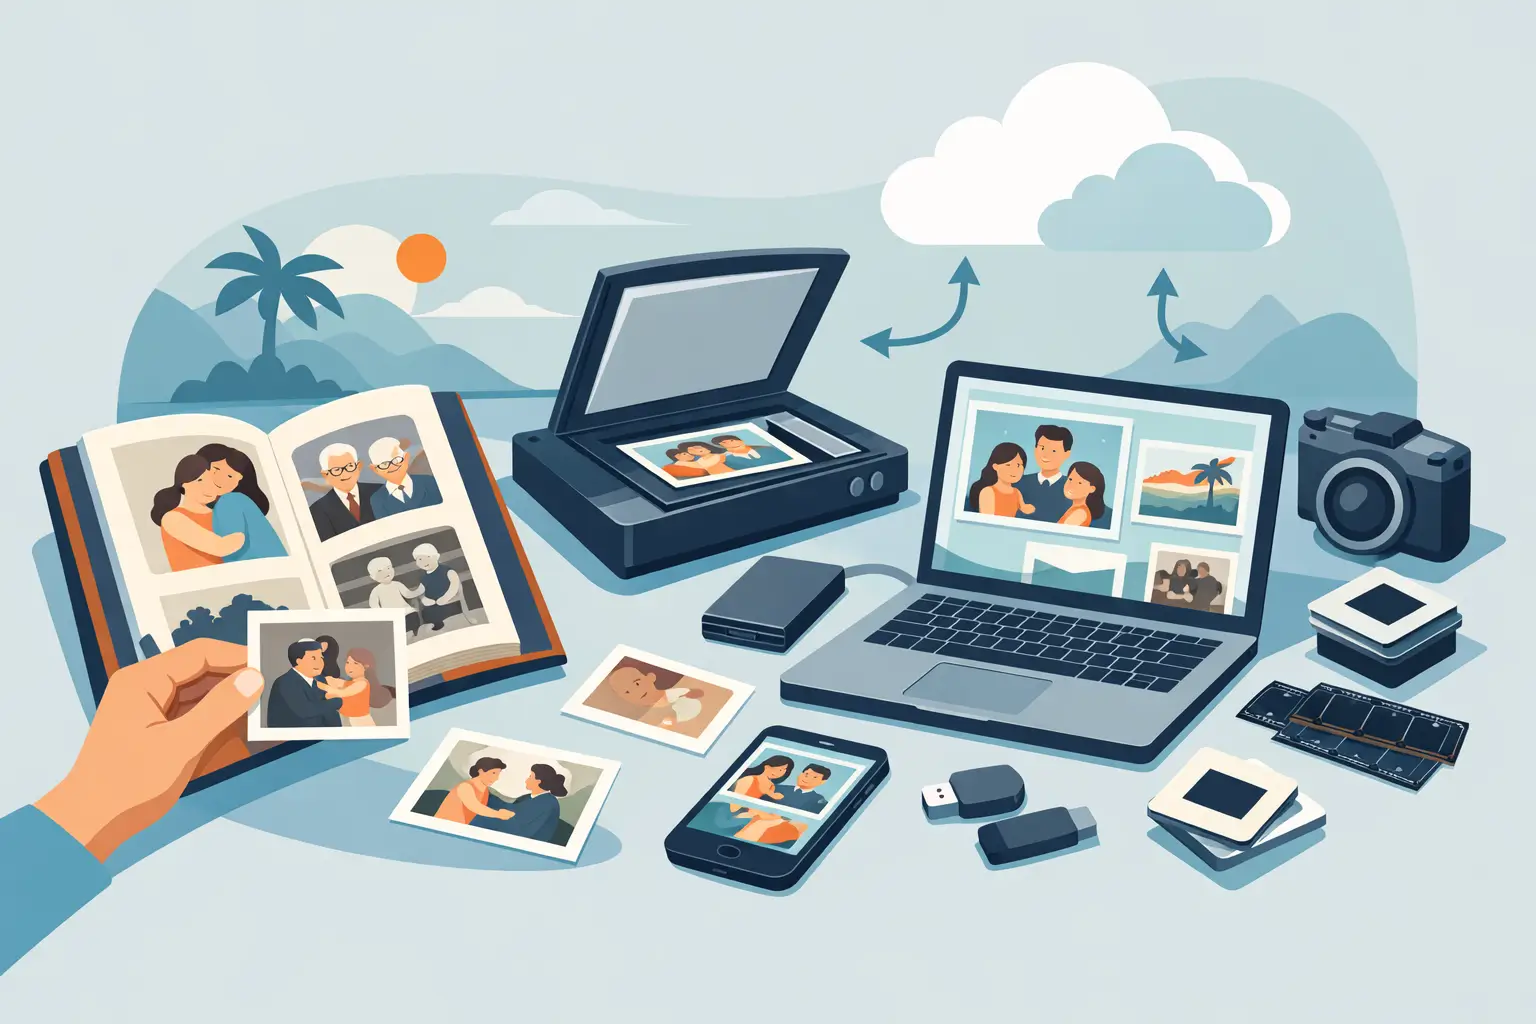
A shoebox full of photos can look harmless until you notice curled edges, fading faces, or that one envelope marked “vacation 1984” is starting to stick together. That is usually the moment a photo digitization guide becomes more than a nice idea. It becomes a way to protect family history before time, heat, humidity, and handling do more damage.
For many families, the challenge is not caring enough. It is knowing where to start, what quality matters, and whether to do it yourself or trust a professional. The right approach depends on what you have, what condition it is in, and how important peace of mind is to you.
What a photo digitization guide should help you decide
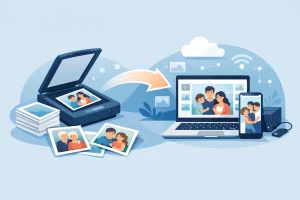
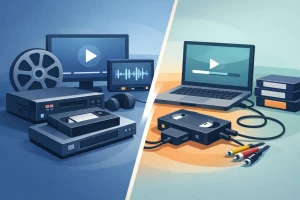
At its core, photo digitization means turning physical images into digital files you can view, share, store, and reprint. That can include standard photo prints, oversized portraits, albums, slides, and negatives. Each format behaves differently, and each deserves a slightly different plan.
Prints are usually the easiest place to begin, especially if they are loose and in decent shape. Slides and negatives often contain excellent image detail, but they require more specialized equipment and handling. Older albums can be the trickiest of all because removing photos may cause tearing, cracking, or adhesive damage.
That is why the first decision is not “What scanner should I buy?” It is “What exactly am I trying to preserve?” If your goal is simple sharing, a basic scan may be enough. If your goal is long-term preservation or creating future reprints, image quality and file handling matter much more.
Start by sorting before you scan
The most common mistake is scanning first and organizing later. It sounds faster, but it usually creates digital clutter that is almost as frustrating as physical clutter. A little sorting upfront saves time and makes the final collection much more useful.
Group your photos by type first: prints, slides, negatives, and albums. Then separate by family branch, event, or rough date range. You do not need a museum-grade catalog. Even simple labels like “Mom’s side,” “school years,” or “holiday photos” are enough to create order.
As you sort, set aside damaged or delicate items. Photos with mold, stuck surfaces, deep bends, or active deterioration should not be forced through consumer equipment. Those pieces often need careful manual handling and, in some cases, restoration work before or after digitization.
Choosing quality: good enough versus worth preserving
This is where many people get stuck. They do not want to overspend, but they also do not want to do the job twice. The answer depends on how you expect to use the files.
If you only want quick digital reference copies, lower-resolution scans may work. But if you want to zoom in, make reprints, create albums, or preserve the best possible version of an original, higher-quality scanning is the safer choice. That is especially true for slides and negatives, where the source often contains detail that a basic setup will miss.
File format matters too. JPEG files are convenient and easy to share, but they use compression. TIFF files are larger, yet they preserve more data and are often better for archival purposes. Many families benefit from having both: a high-quality master file for safekeeping and a smaller everyday file for emailing and phone storage.
Color correction is another area where it depends. Some people want every scan left exactly as the original appears today, including fading. Others prefer gentle correction to bring back a more natural look. Neither choice is wrong. The key is consistency and making sure expectations are clear before the work begins.
DIY scanning has benefits, but also limits
There is nothing wrong with handling a small project yourself. If you have a manageable number of prints, enough time, and a scanner that produces dependable results, a home setup can work well. DIY can also feel personal. Some families enjoy revisiting photos one by one during the process.
But home scanning has trade-offs. Flatbed scanners are often slow. Feed scanners can be convenient, but they are not ideal for every print condition. Smartphone apps are useful for casual sharing, yet they usually do not match true archival-quality scanning, especially when glare, lighting, shadows, and edge distortion get involved.
The biggest hidden cost is time. Hundreds of prints can turn into many hours of prep, scanning, naming, rotating, correcting, and backing up. If the collection includes slides, negatives, fragile albums, or damaged photos, the technical gap between home equipment and professional equipment becomes much more noticeable.
When professional photo digitization makes more sense
A professional service is often the better choice when the photos are irreplaceable, the volume is large, or the condition is fragile. It also makes sense when you want the process handled carefully from start to finish without turning your dining room table into a month-long scanning station.
A good provider should explain the process clearly, not bury you in jargon. You should understand what formats they accept, how originals are handled, what file types you will receive, and how delivery works. For many families, that clarity is just as valuable as the scanning itself.
If you are local to South Florida, working with an established company that offers in-person drop-off can add real peace of mind. Being able to speak with someone directly, ask questions, and know where your memories are being handled matters when you are trusting someone with one-of-a-kind family photos.
A practical photo digitization guide for choosing a service
When comparing providers, start with care and experience before price. Anyone can promise digital files. What matters is whether they understand fragile media, image quality, and the emotional value of what they are handling.
Look for a company that has real experience with more than just basic prints. If they also handle slides, negatives, albums, and damaged media, that usually tells you they understand the differences between formats. Ask how originals are protected during intake, scanning, and return. Ask what resolution options are available and whether file naming or organization is included.
Turnaround time is worth discussing too. Faster is not always better if quality suffers, but vague timelines are not reassuring either. A dependable provider should be able to tell you what to expect and communicate clearly if a project becomes more complex.
Reviews can help, especially when they mention careful handling, communication, and final quality. Families are usually very specific when they feel their memories were treated with respect.
Don’t forget storage after digitization
Digitizing photos is only half the job. Once the files exist, they need to be protected too. Digital preservation is easier than preserving physical media, but it still requires a plan.
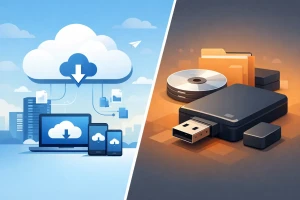
Keep copies in more than one place. A practical setup might include a master set on an external hard drive and a second copy in cloud storage. If you are receiving files on a USB drive, treat that as one copy, not the only copy. USB drives are convenient for delivery, but they should not be your whole backup strategy.
Organize folders in a way your family will understand years from now. Clear names such as “Smith Family 1970s” or “Dad Military Photos” are far more helpful than random scan numbers. If certain people or events are hard to identify now, add notes while relatives are still available to help. Digitizing preserves the image, but context preserves the story.
What to do with originals once scanning is done
Many families ask whether they can throw the originals away after digitization. Usually, the better answer is to keep them if space allows, especially for historically significant or emotionally important items. Digital copies are valuable, but original prints, slides, and negatives still have meaning and can sometimes offer future restoration opportunities.
Store them in a cool, dry place away from garages, attics, and direct sunlight. Use archival-safe boxes or sleeves when possible. Avoid overhandling, especially with negatives and older prints.
If an album is badly deteriorated, you may decide the digital version is the version you will use most often. That is perfectly reasonable. Preservation is not about guilt or perfection. It is about making thoughtful choices before loss forces the decision for you.
For families who have been putting this off, the best time is rarely “when life slows down.” It is when you finally decide these memories deserve a safer future. A few photos today can become a complete family archive before long, and once they are digitized well, they are much easier to share, enjoy, and pass on.