A shoebox of family photos can look harmless until you pick one up and notice the corners curling, the colors fading, or a crease running straight through a face you have not seen in years. That is usually the moment people start asking how to scan old photos before more time gets a say.
The good news is that photo scanning is not complicated once you know what matters. The harder part is making choices that protect the originals while giving you digital files that are actually worth keeping. Resolution, file type, handling, and cleanup all affect the result. If you rush, you can end up with blurry scans, missing detail, or damage to photos that cannot be replaced.
How to scan old photos the right way
Start with the condition of the photo, not the scanner. Old prints can be fragile, stuck together, dusty, bent, or already cracking around the edges. If a photo feels brittle or has surface damage, handle it by the edges with clean, dry hands. Do not try to peel apart photos that are stuck together and do not wipe the image side with paper towels or household cleaners.
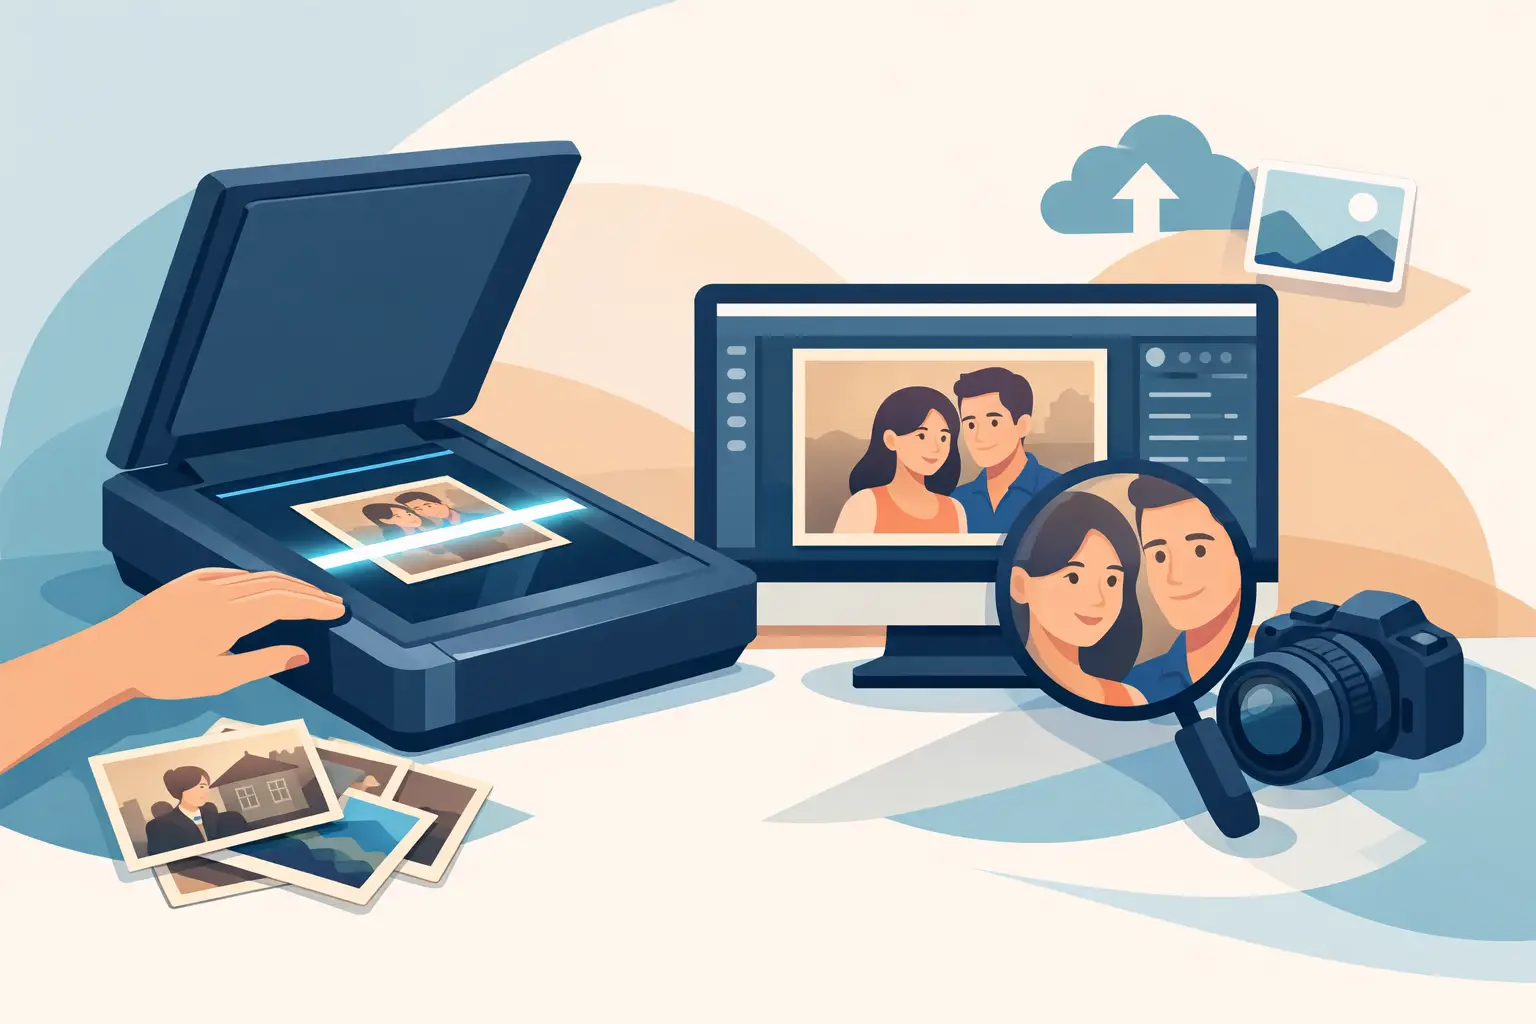
A clean, flatbed scanner is usually the best choice for printed photographs. It gives you steady contact, better control, and less risk than feeding old prints through an automatic document feeder. Phone scanning apps can work for quick sharing, but they usually introduce glare, uneven lighting, distortion, or lower detail. If the goal is long-term preservation, a proper scanner is the safer route.
Before scanning, gently remove loose dust with a soft microfiber cloth or a blower designed for delicate surfaces. Light cleaning helps, but overhandling can do more harm than a little dust ever would. If a print is torn, mounted, or very fragile, that is where professional help often makes sense.
Choose settings that preserve detail
The most common scanning mistake is using a resolution that is too low. If you only want a basic digital copy for viewing on a screen, 300 dpi is often enough for standard-size prints. But if you may want to enlarge the image later, crop it, or preserve as much detail as possible, 600 dpi is the better choice for most old photos.
For very small prints, wallet photos, or images with fine detail, scanning at 1200 dpi can be worthwhile. The trade-off is larger file sizes and longer scan times. Higher is not always better, though. Scanning a standard print at an extreme resolution will not create detail that no longer exists in the original.
Color mode matters too. Scan color photos in color, and scan black-and-white prints in grayscale rather than black and white. Black-and-white mode can strip out subtle tonal information and make faces look harsh. Grayscale holds onto those softer transitions.
File format is another decision that affects long-term value. TIFF files are best for archival quality because they keep more image data and avoid compression. JPEGs are smaller and easier to share, which makes them practical for everyday use. Many families keep both – a high-quality master file and a smaller copy for email, phones, or online albums.
Prepare your photos before you scan
A little preparation saves a lot of frustration later. Sort photos into loose groups before you begin. You can organize by decade, event, family branch, or whatever will make sense six months from now when you are looking for a specific image.
As you sort, watch for issues that affect scanning. Curled photos may need time under gentle, even pressure before they lie flat enough to scan cleanly. Photos in albums with sticky pages or deteriorating plastic coverings need extra care. Removing them too quickly can tear the surface.
If there is writing on the back, scan that too. Dates, names, and locations are often just as valuable as the photo itself. Many families regret skipping the backs once the people who recognized the handwriting are no longer around.
This is also the right time to name files in a useful way. A filename like “IMG_0045” will not help anyone later. Something simple such as “1982_Smith_Family_Reunion_01” is much easier to search and understand.
A step-by-step process for better scans
Place one photo at a time on the scanner bed unless your software is good at separating multiple images correctly. Align it carefully, close the lid gently, and preview the scan before saving the final file. Previewing lets you crop out the empty border and check for dust, tilt, or clipped edges.
If your scanner software offers automatic correction, use caution. Some auto-enhance features oversaturate colors, sharpen too aggressively, or flatten natural contrast. Old photos often look best when scanned as faithfully as possible first. You can always create edited copies later.
Scan the full image, including borders if they contain deckled edges, studio marks, or handwritten notes. What looks unimportant now can matter later to family historians or collectors. Once scanned, save the file immediately into the correct folder and back it up before moving on.
That rhythm matters more than people expect. Scan, label, save, back up. It is slower than scanning a giant stack all at once, but it reduces confusion and keeps one accident from wiping out a whole afternoon of work.
Should you edit old photo scans?
Usually, yes, but lightly at first. The first file should be a clean preservation scan that stays close to the original. After that, you can make a second version with corrections for sharing or printing.
Basic edits often help. Cropping, slight contrast adjustment, color correction, and minor dust removal can make an old image much easier to enjoy. Heavy retouching is where things get complicated. Removing every crease and spot may sound appealing, but too much editing can erase the character of the original photo or create unnatural skin tones and textures.
It depends on your goal. If you are preserving family history, authenticity matters. If you are preparing one special portrait for a framed gift, restoration may be worth more effort. There is no single right answer, only the right level of correction for the image and its purpose.
When a DIY approach is enough – and when it is not
If your photos are in decent condition, loosely organized, and you have time to work carefully, scanning them yourself can be a good project. It gives you control over naming, sorting, and deciding what gets edited. For smaller batches, that can be perfectly reasonable.
But there are moments when home scanning stops being practical. Large collections take much longer than most people expect. Fragile prints, album pages, oversized portraits, slides, negatives, and badly faded images often need more than a consumer scanner can handle well. The same goes for families who want consistent quality without spending weekends learning software settings.
That is where a professional service can offer real peace of mind. Experienced technicians know how to handle delicate originals, choose settings based on the material, and produce files that are suitable for both archiving and sharing. For families in South Florida, having a local option can make the process feel more personal and secure, especially when the photos are one of a kind.
How to store scanned photos safely
Once your scans are finished, protect the digital copies with the same care you would want for the originals. Keep the files in organized folders, and store them in at least two places. That might mean an external hard drive plus a cloud backup, or a main computer plus another separate storage device.
Do not leave your only copy on a desktop or an aging laptop. Hard drives fail, phones get replaced, and files disappear more easily than people think. A simple backup routine is one of the best things you can do for your family archive.
For the original prints, use acid-free boxes or albums and keep them in a cool, dry part of the house. Avoid garages, attics, and damp closets. Heat and humidity shorten the life of photographs fast, which is one reason so many Florida families decide not to wait.
At HB Media Solutions, we see the same pattern again and again – people are relieved once those memories are safely digitized, because they no longer have to wonder what might happen if a photo album gets damaged, lost, or simply keeps aging.
If you are deciding how to scan old photos, the best approach is the one that protects both the image and the story attached to it. Work carefully, save more detail than you think you need, and do not be afraid to get help with anything fragile or overwhelming. A clear digital copy is more than a file. It is a way to keep someone’s face, handwriting, and place in your family close at hand for the next generation.